These steeps will show you how to use OpenDNS instead of your ISPs DNS in pfSense, and how to setup a free home account at OpenDNS to start filtering DNS request, and by that blocking unwanted traffic.
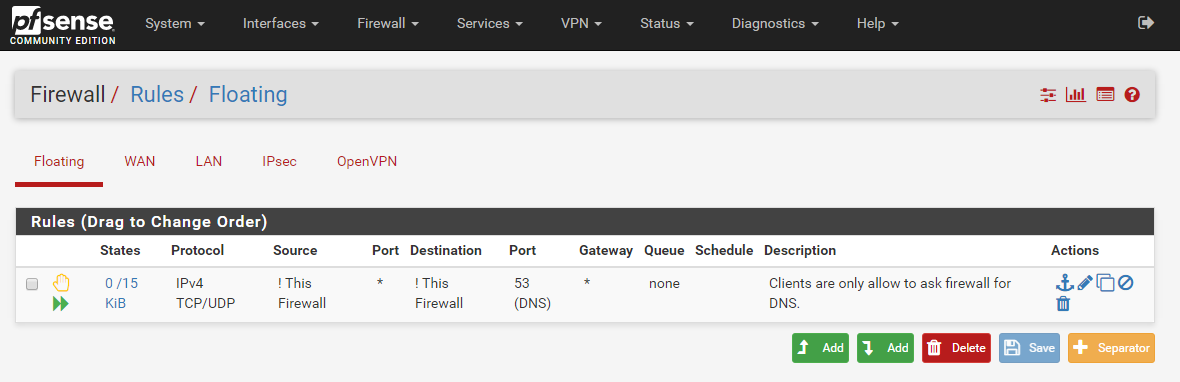
- Block all dns request that dont go through your Firewall with a floating rule.
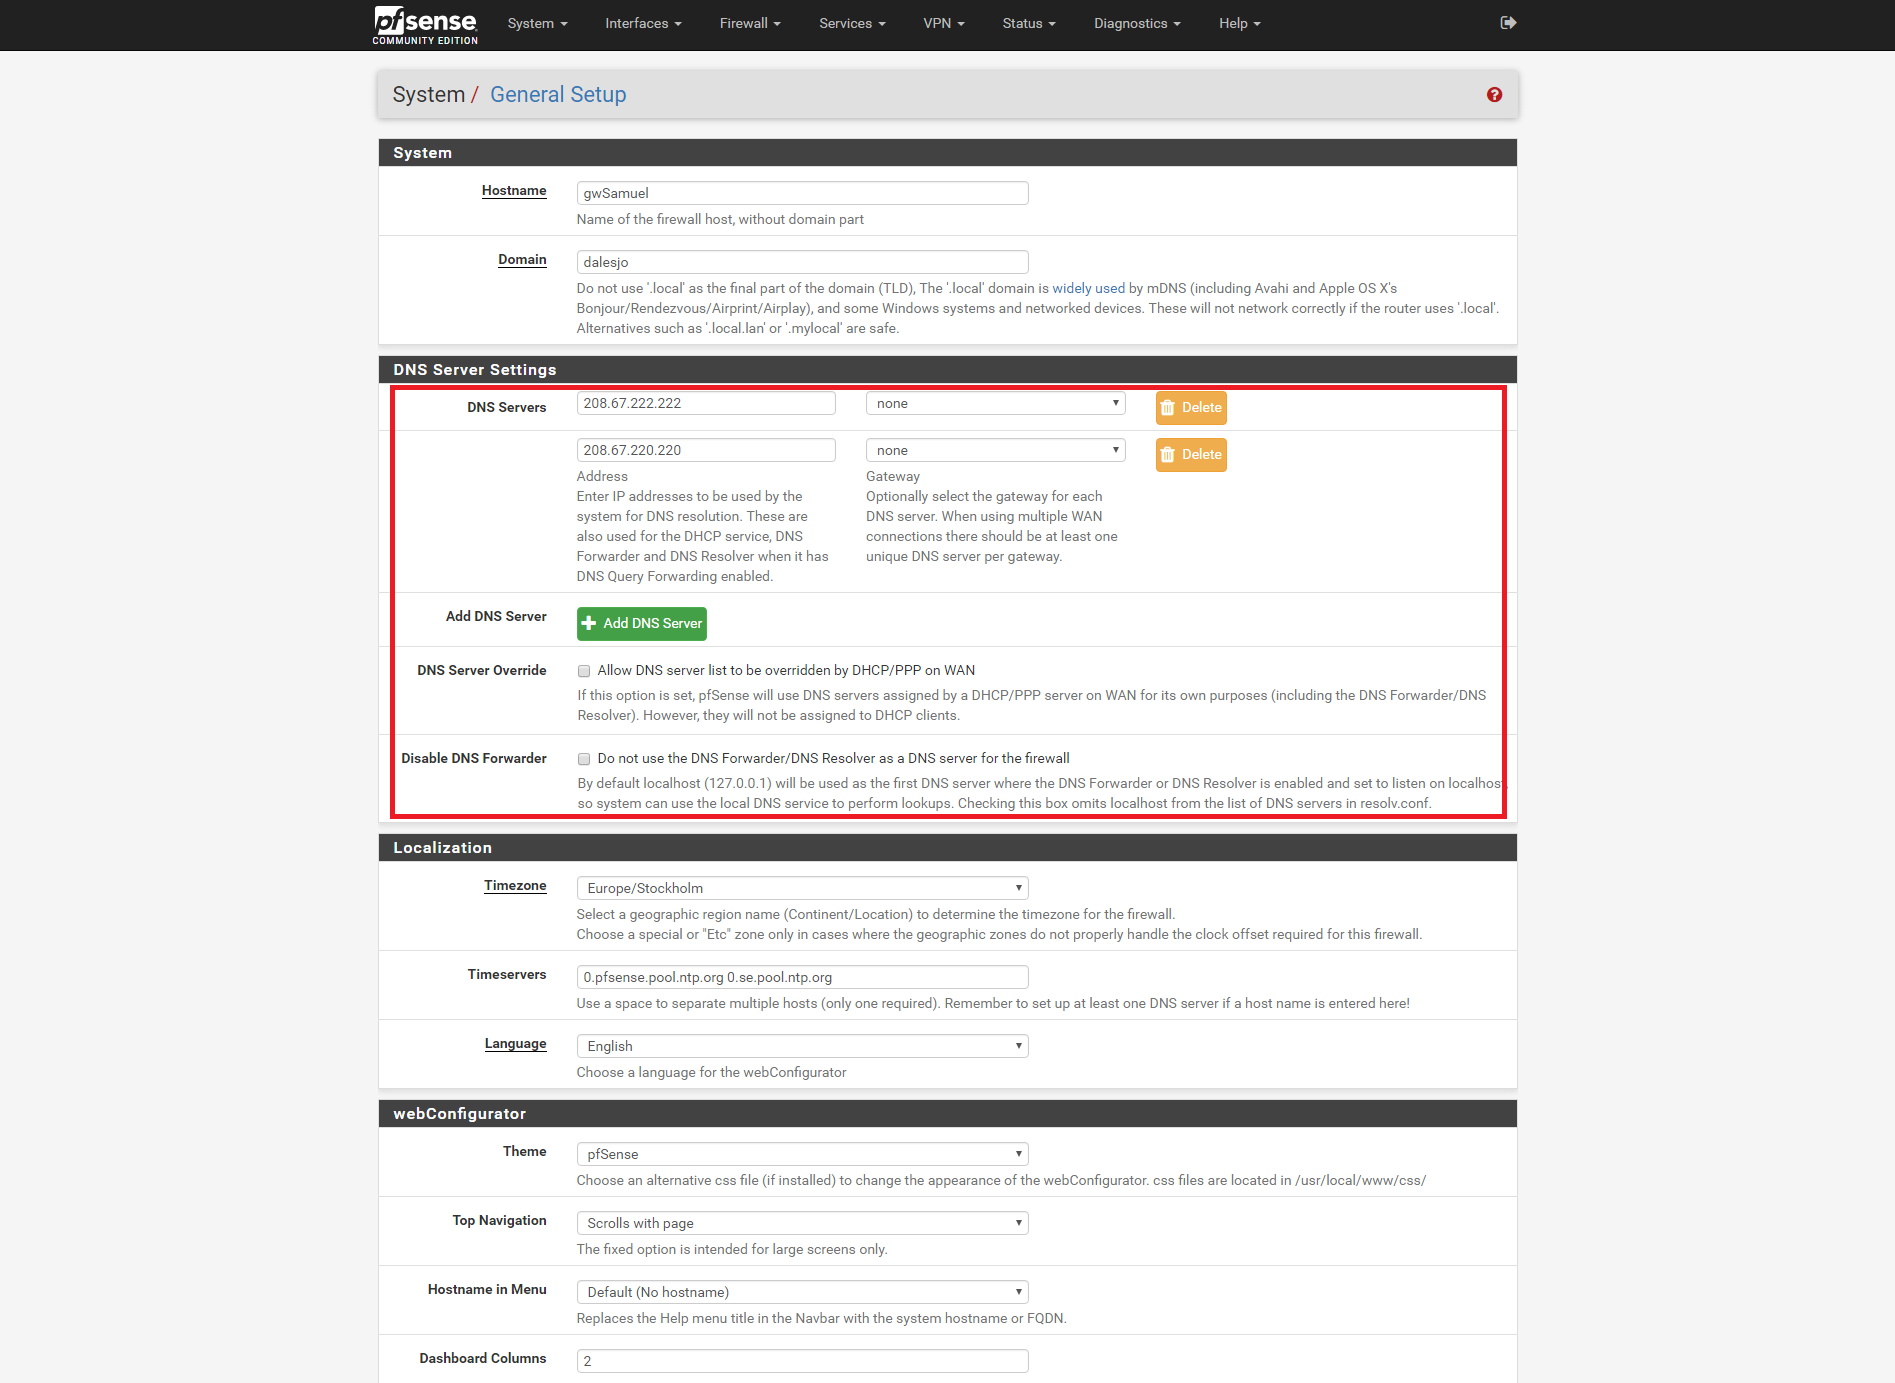
- Select OpenDNS server as your main and only dns servers, make sure checkboxes are unchecked. Make sure all your computers is using pfSense as your DNS server (default if using dhcp) at this point.
- Create an account at http://opendns.com email with activation link to dashboard comes through email.
- login to your dashboard, add a network with your ip-number, you will be asked to give the network a userfriendly name.
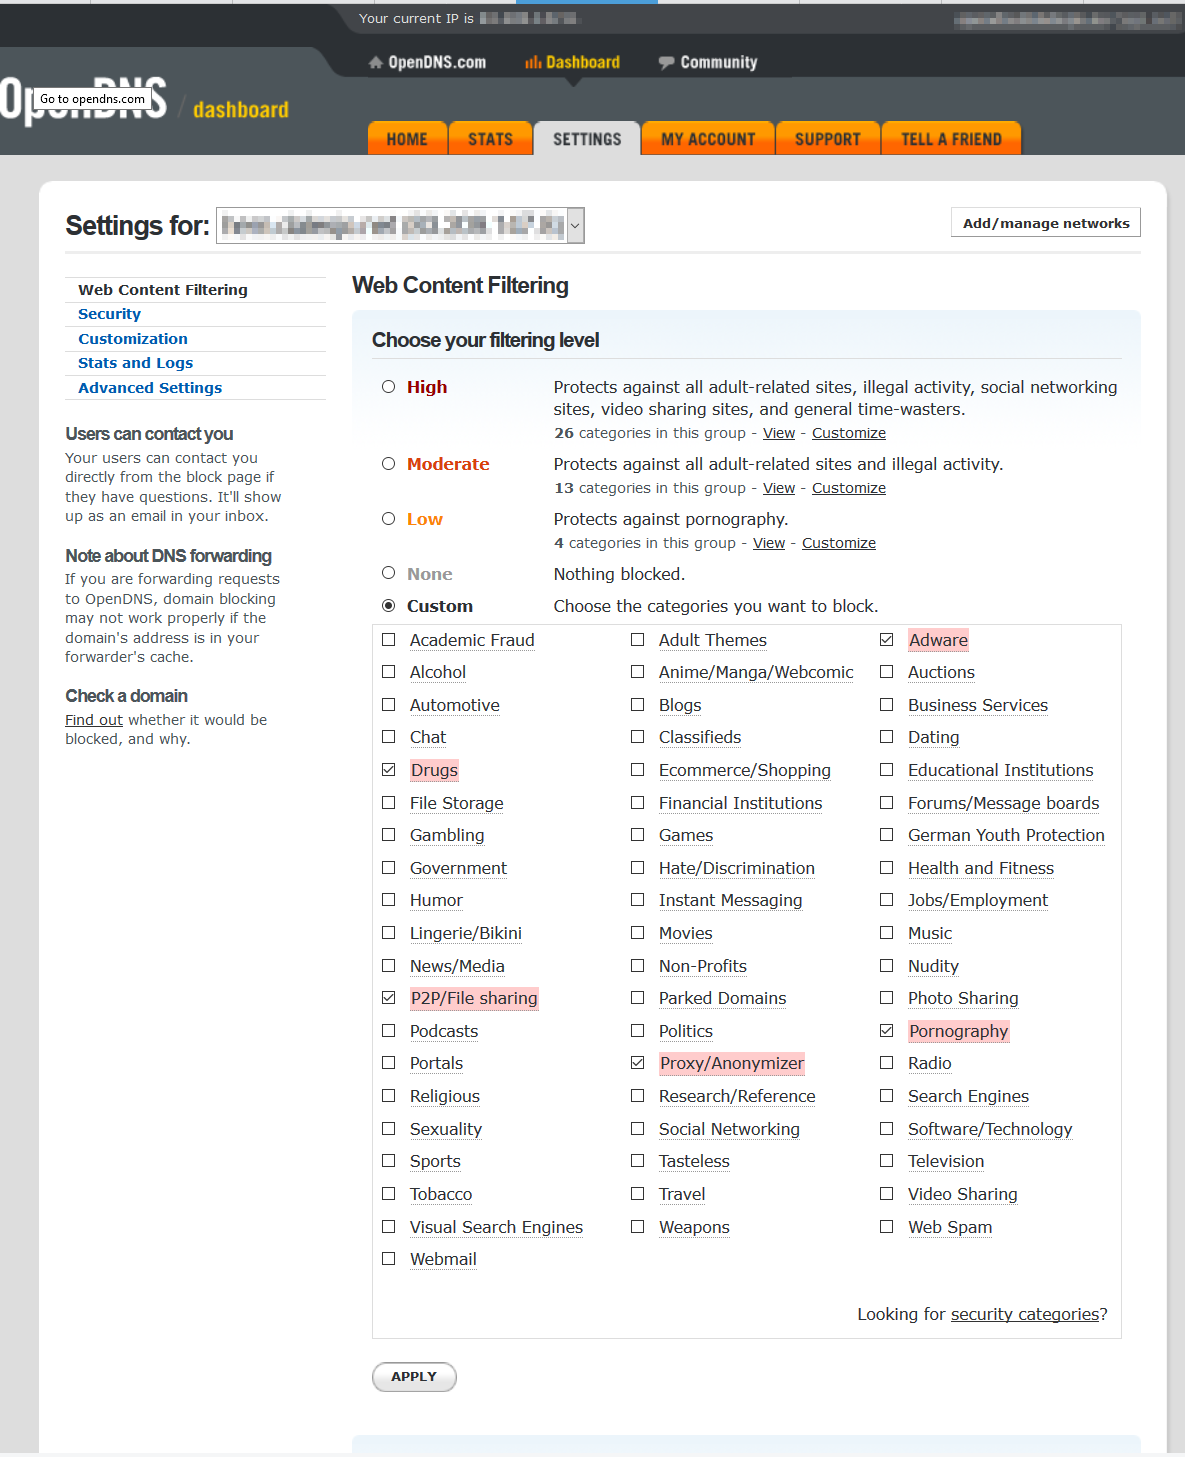
- Edit your network to edit what kind of pages to filter
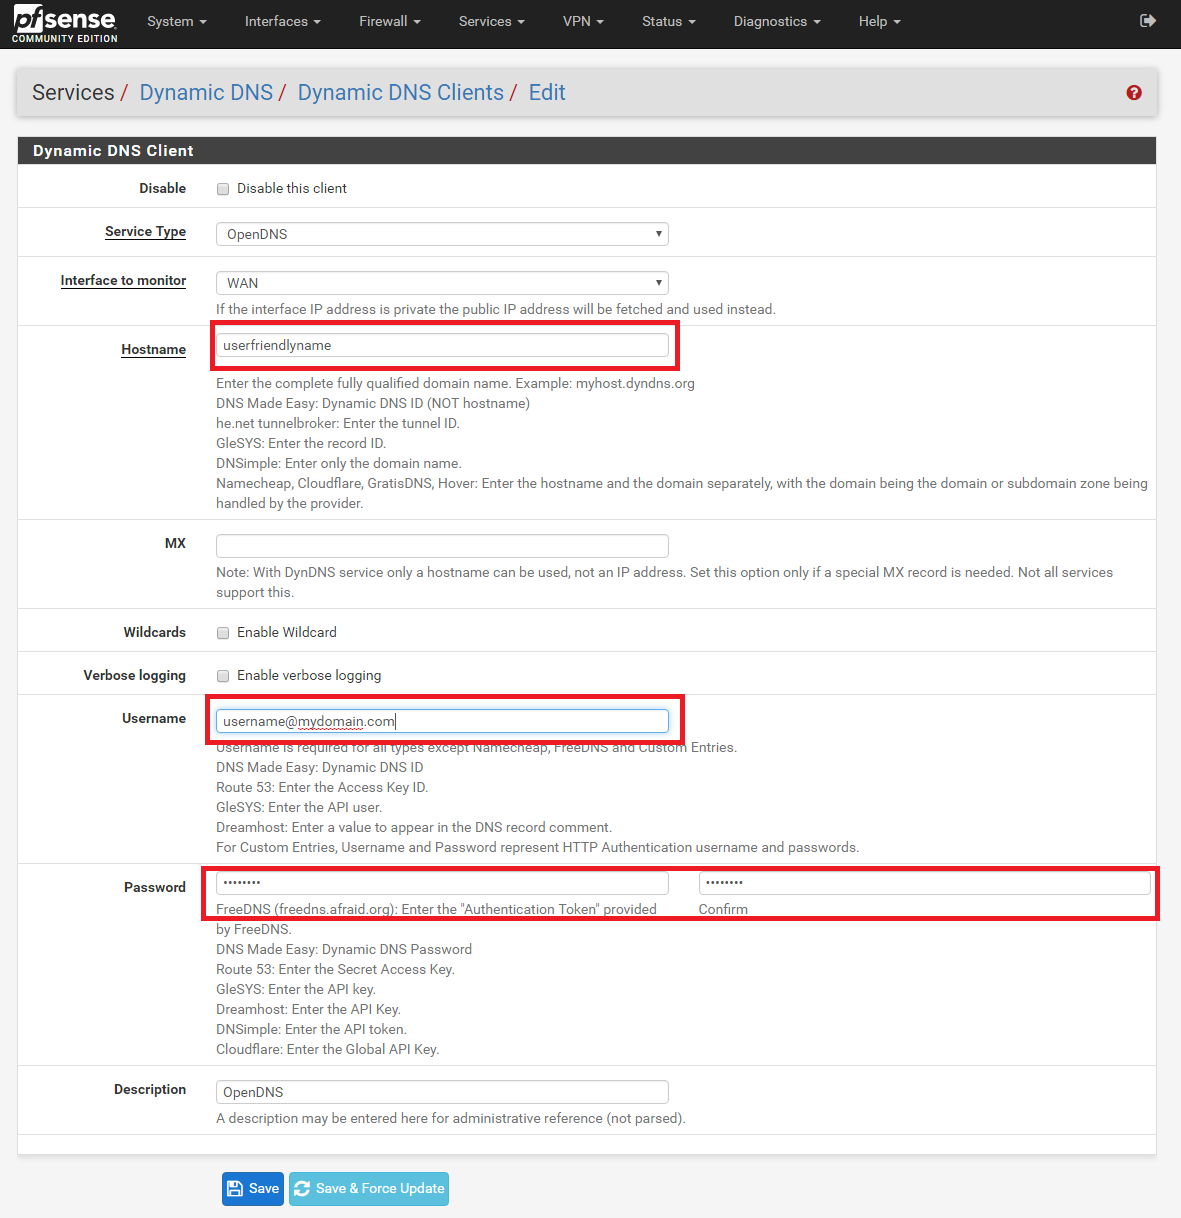
- In pfSense add a dynamic DNS entry with your OpenDNS account. hostname is your user friendly name you created in 4. Username and password are your account for opendns.
- Add OpenDNS root CA to you computers so that block messages for encrypted pages does not give an warning in your browser. Certificate is located on the bottom off the page, currently hosted by cloudflare.
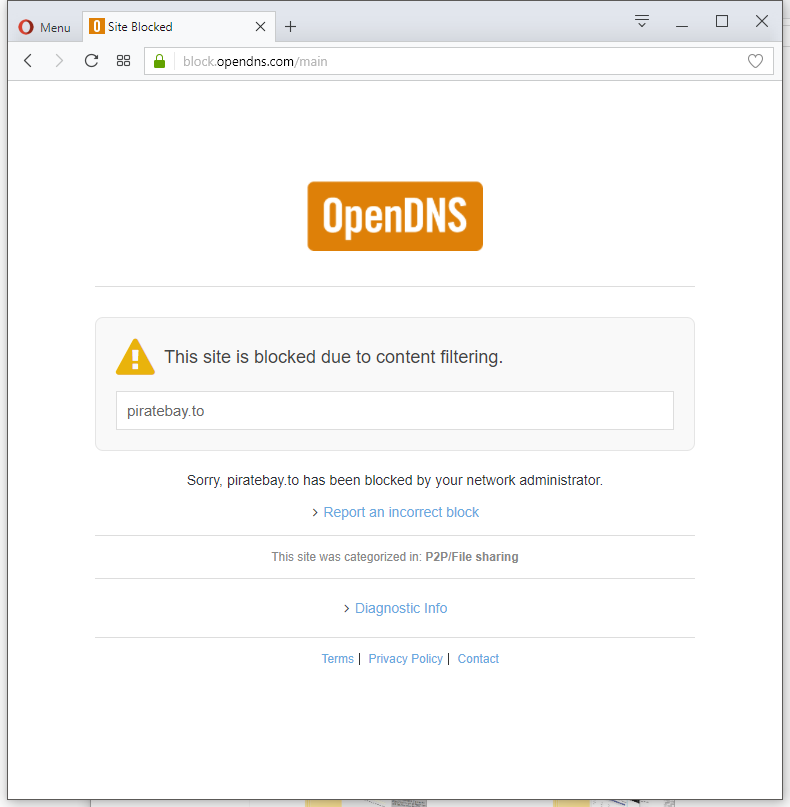
- Visiting an filtered website now redirect you to opendns error page telling you that the site is blocked. You can to some extent customize the appearance of this site under your network settings on the OpenDNS dashboard.